If you’ve ever looked at a collection of e-file bits and felt completely lost, you’re not alone. With different materials, shapes, grits, and colors, it’s easy to grab the wrong one and end up damaging a nail – or even the skin.
But choosing the right pedicure bits doesn‘t have to be complicated. Once you understand a few basics, you’ll be able to pick the perfect bit for every part of a pedicure.
Why the Right Bit Matters
Your feet go through a lot. Thick toenails, tough calluses on the heels, dry cuticles – each problem needs a different approach. Using a coarse bit on a natural nail can thin it permanently. Using a fine bit on a thick callus will take forever. Matching the bit to the task is the first step to safe and efficient pedicures.
The three main factors to consider are material, shape, and grit.
Material: What the Bit Is Made Of
The material determines what a bit can safely touch and how aggressively it cuts.
Diamond Bits are coated with tiny diamond particles and are the best choice for natural nails and delicate skin. Diamond bits excel at cuticle work, exfoliating the cuticle fold, cleaning the sidewalls, and gently preparing the natural nail plate for gel or polish. They are less aggressive than carbide, making them very beginner-friendly.
Ceramic Bits generate less heat than carbide and diamond bits, which is a real advantage when working with sensitive clients. Ceramic bits are good for removing gel polish, smoothing enhancements, and reducing calluses. They don‘t heat up as fast as metal bits, reducing painful “heat spikes” during extended use.
Carbide Bits are the heavy-duty option. Made from a tough metal alloy with flute‑like cuts, they remove hard materials like acrylic and thick calluses efficiently. Carbide bits‘ sharp flutes cut material rather than scratching it, resulting in less heat and vibration. However, these bits should never be used on natural nails or skin unless you are experienced and using them at low speeds.
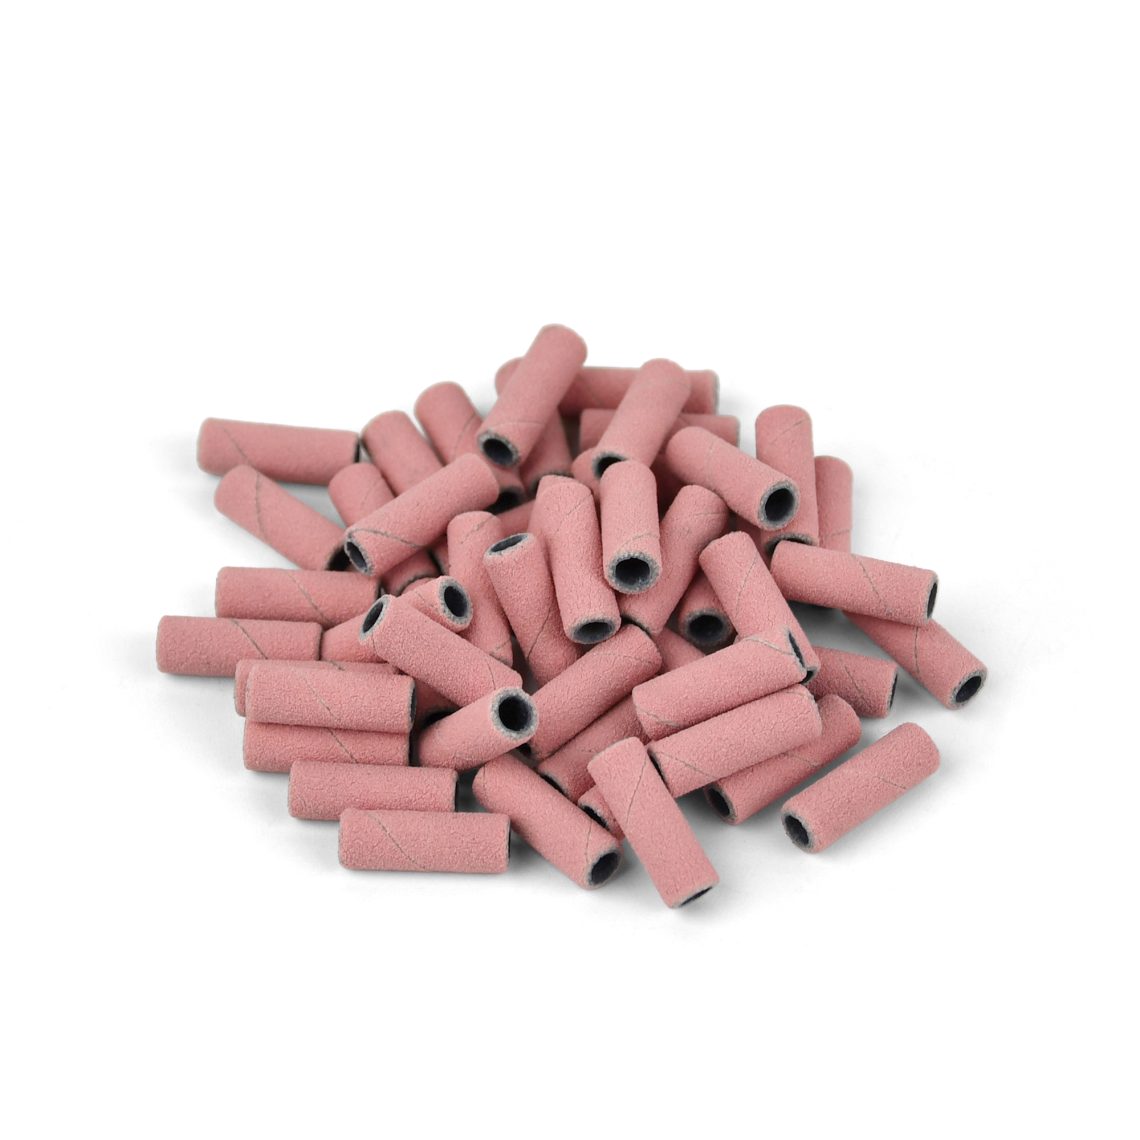
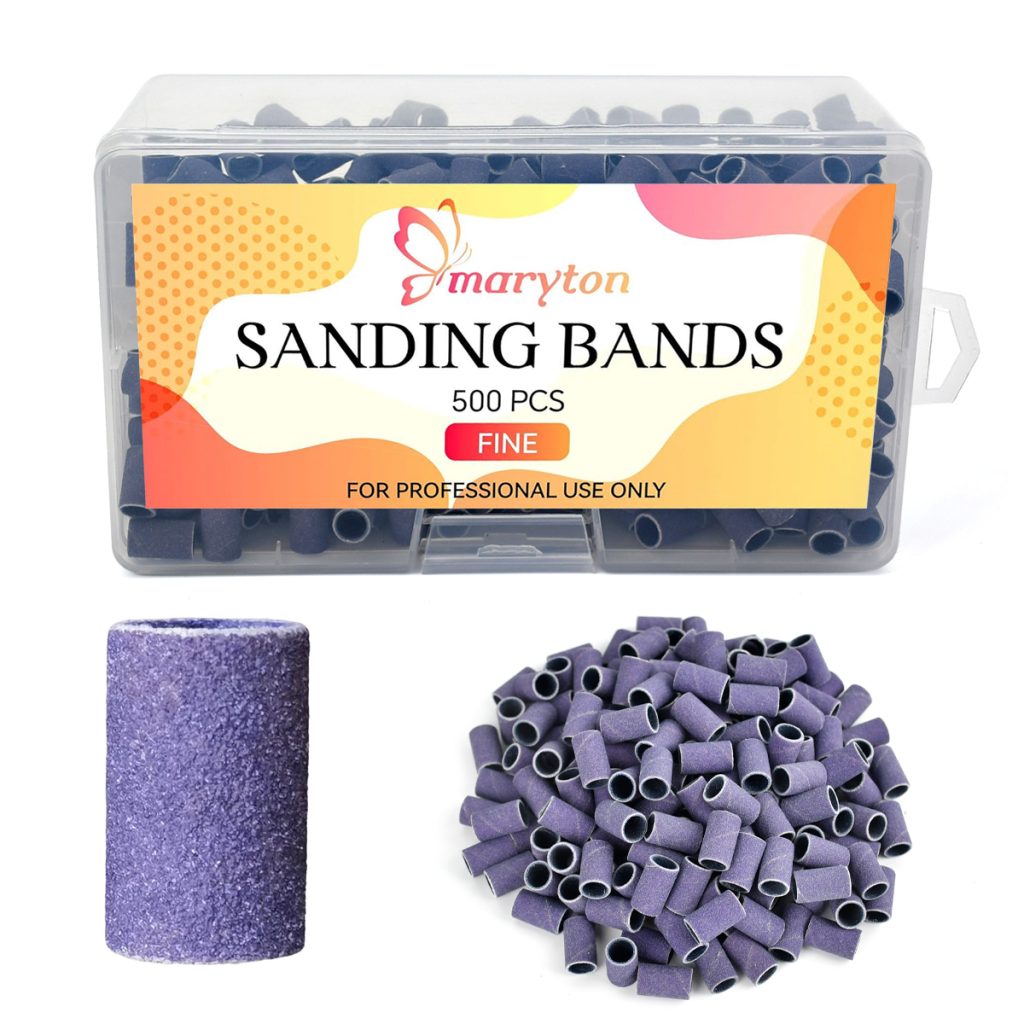
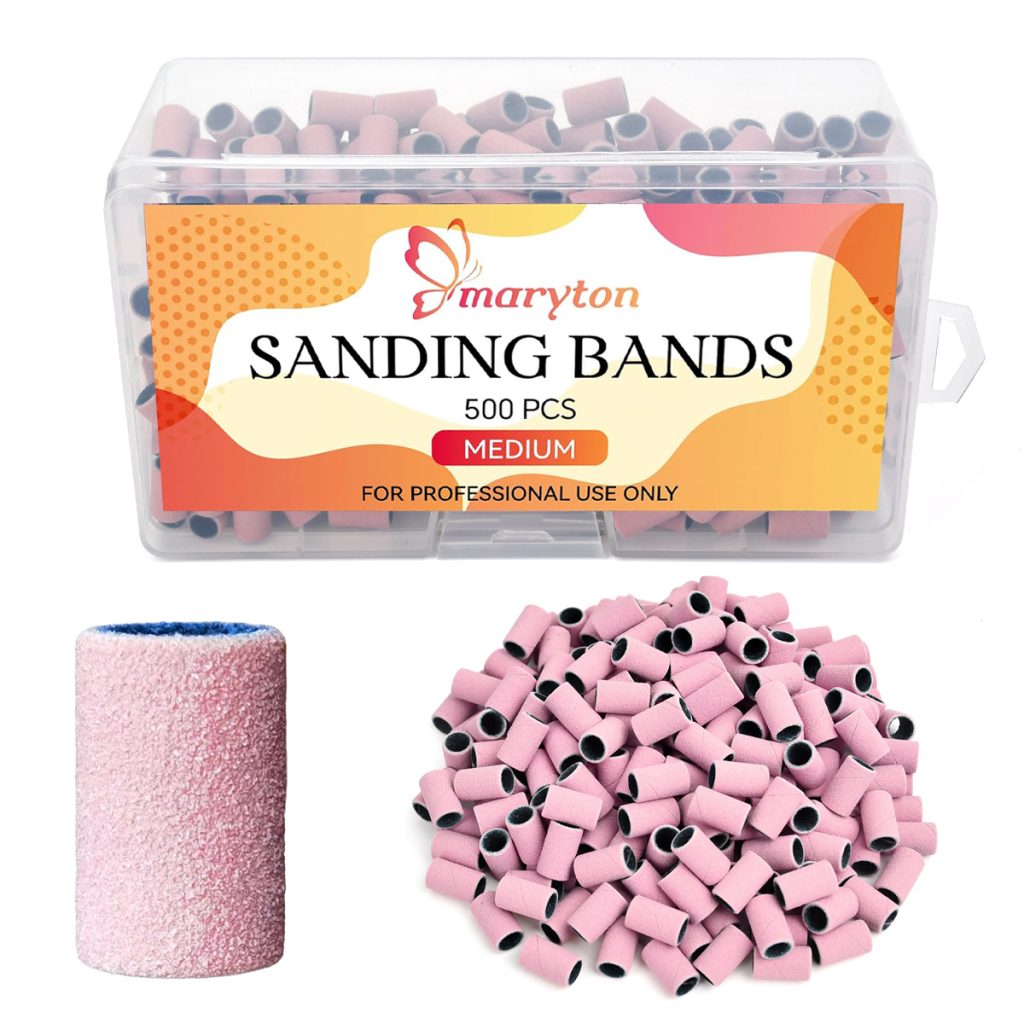
Sanding Bands are disposable, sandpaper‑like sleeves that fit onto a mandrel bit. They are the most beginner‑friendly option and are perfect for smoothing calluses, shaping natural nails, and removing gel polish. They are single‑use for hygiene.
Grit: How Coarse or Fine the Bit Is
Grit refers to how rough the abrasive surface is. Lower numbers are coarser; higher numbers are finer.
- Coarse grit (80–120 grit) is used for aggressive shaping and removing thick calluses or hard product. On pedicures, coarse sanding bands are excellent for quickly reducing callused heels. However, coarse bits should never touch a natural nail plate.
- Medium grit (120–180 grit) is the daily workhorse. It’s versatile for shaping natural nails, smoothing thickened toenails, and removing gel polish.
- Fine grit (200+ grit) is for finishing and polishing. Fine bits are the safest choice for delicate cuticle work, natural nail prep, and achieving a smooth, glossy surface.
Many professional bits use a color‑coded system – red for fine, blue for medium, green for coarse – making it easy to grab the right one at a glance.
Shape: Why the Form Matters
The shape of a bit determines exactly where and how you can use it.
- Safety (Rounded Top) Bit: The rounded tip makes it safe to work near the cuticle without accidentally cutting skin – perfect for beginners.
- Barrel Bit: A cylinder shape great for surface work, shortening thickened nails, and refining the overall nail shape.
- Flame or Tapered Bit: Tapered to a point, this bit is designed to carefully lift and separate non‑living cuticle tissue away from the nail plate.
- Ball Bit: A sphere shape ideal for exfoliating dry skin around the cuticle fold.
- Cone Bit: Tapered to a point, this is used for cleaning the sidewalls of the toenail and accessing tight spaces.
Safety and Technique Tips
Once you‘ve chosen the right bit, how you use it matters just as much.
- Keep the bit moving constantly. Never stop in one spot for more than a second.
- Use low speeds for natural nails (5,000–8,000 RPM for diamond bits) and medium speeds for callus reduction.
- Always use fine or medium grit bits when working near the natural nail plate.
- Clean your bits after each use with a wire brush to remove debris and disinfect them before storing.
Building Your Essential Pedicure Bit Set
You don‘t need dozens of bits. Start with:
- A fine diamond flame or safety bit for cuticle work on natural nails.
- A coarse sanding band (80–100 grit) for reducing thick calluses on heels.
- A medium ceramic or diamond barrel bit for smoothing toenail surfaces and removing gel polish.
- A fine ball bit for exfoliating dry skin around the cuticles.
The Bottom Line
Choosing pedicure bits comes down to knowing three things: what the bit is made of, how coarse it is, and what shape it has. Start simple, practice with a few essential bits, and you‘ll quickly build the confidence to perform safe, efficient, and professional‑looking pedicures at home.
Read also: The Unlikely Act of Self-Care: Your Guide to the Perfect Home Pedicure
