In our busy lives, our feet often bear the brunt of our daily grind, yet they are frequently the last to receive care. While salon visits are a treat, a home pedicure is a surprisingly powerful act of self-care that is economical, hygienic, and deeply personal. It’s more than just pretty polish; it’s a ritual of restoration for your hard-working feet.
Why Choose a Home Pedicure?
The benefits are compelling. First, it’s cost-effective. A one-time investment in basic tools replaces countless salon visits. Second, it’s hygienic. Using your own sterilized tools eliminates any risk of infections. Third, it offers ultimate flexibility. You can do it in your pajamas, pause anytime, and customize every step to your preferences without time pressure. Finally, it’s a mindful ritual. The focused attention on your own well-being can be a calming, meditative break from the noise of the day.
Is a Home Pedicure Easy to Achieve?
Absolutely. You don’t need fancy equipment or professional skills, just some basic tools, a little time (about 45-60 minutes), and careful attention. The process is straightforward and easily mastered.
Essential Tips and Techniques for Success
Safety and preparation are key. Here are the crucial pointers:
- Sanitation is Non-Negotiable: Always start by washing your hands and tools. Soak metal tools (like clippers and pushers) in rubbing alcohol for 10 minutes before use.
- Soak, Don’t Scorch: Use warm, not hot, water. Add Epsom salts, a few drops of essential oil (like tea tree for its antifungal properties), or mild liquid soap. Soak for 10-15 minutes to soften skin and nails.
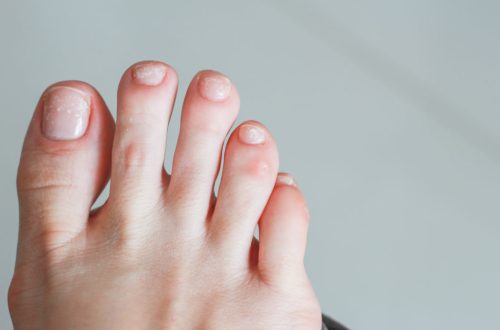
- Nail Clipping Wisdom: Cut nails straight across, never rounded at the corners, to prevent painful ingrown toenails. File gently in one direction to smooth edges.
- Exfoliate with Care: Use a pumice stone or foot file on damp skin. Be gentle—never force or scrape aggressively, especially on heels. The goal is to remove dead skin, not damage healthy tissue.
- Cuticle Care, Don’t Cut: After soaking, gently push back softened cuticles with an orange stick. Avoid cutting them, as this can lead to infection. Simply moisturizing them regularly keeps them neat.
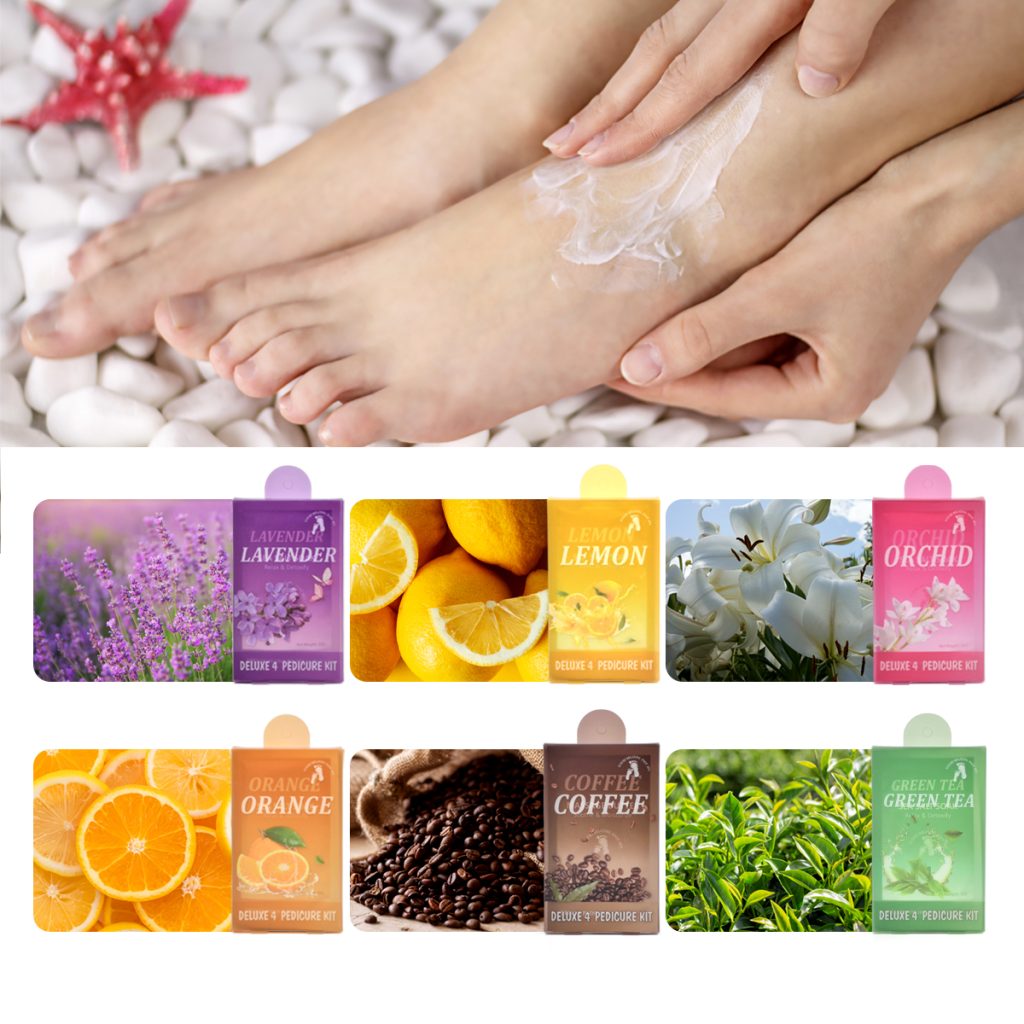
- Hydrate Thoroughly: Post-exfoliation is the perfect time to apply a rich foot cream or heel balm. Massage it in for several minutes to boost circulation and absorption.
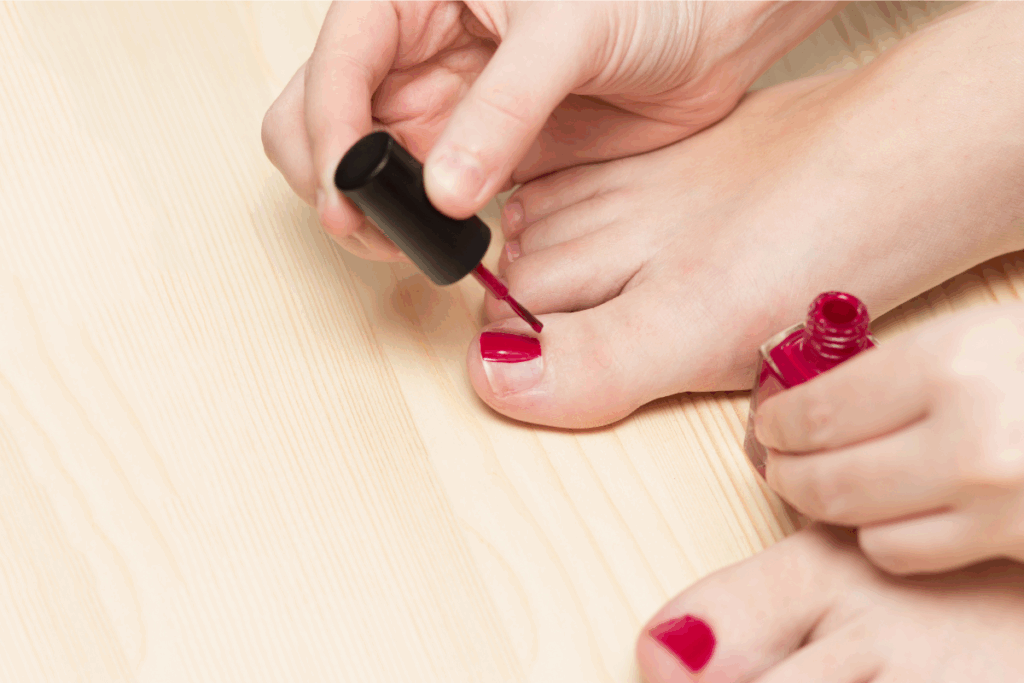
- Polish Perfectly: Ensure nails are completely clean and dry. Apply a thin base coat, two thin coats of color (thin layers dry faster and last longer), and a sealing top coat. Allow ample drying time between coats.
Your Step-by-Step Home Pedicure Success Plan
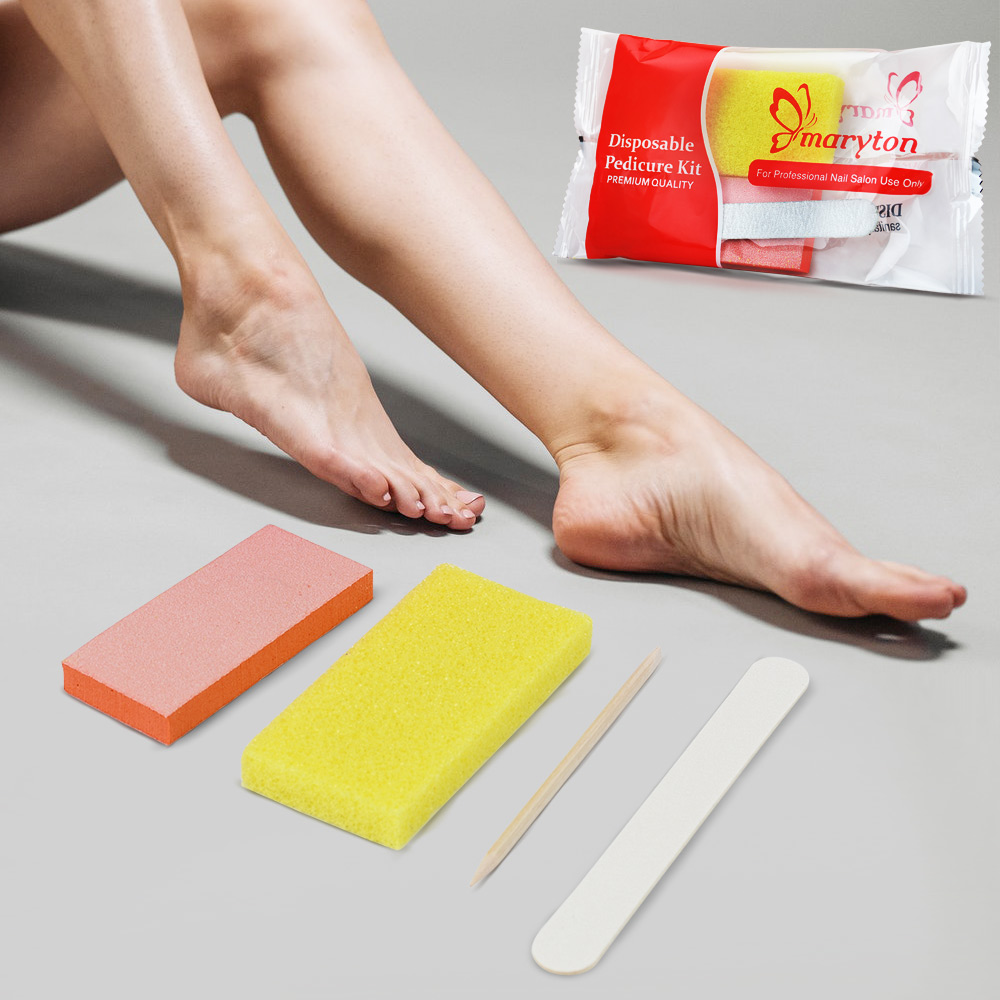
1. Gather Your Toolkit: Nail clipper, nail file, cuticle pusher (orange stick), pumice stone/foot file, foot basin, towel, moisturizer, base/top coat, and your favorite polish.
2. Create Your Sanctuary: Put on relaxing music, silence your phone, and gather everything within reach.
3. The Ritual: Follow the sequence: Remove old polish → Soak feet → Clip and file nails → Gently push back cuticles → Exfoliate heels and calluses → Rinse and dry thoroughly → Massage with moisturizer (wipe polish residue from nails with remover) → Apply polish in thin coats.
4. The Finale: Sit back, let your polish cure fully (at least an hour before wearing shoes), and admire your work with a cup of tea.
Daily Foot Care Between Pedicures
A home pedicure isn’t a one-off event. Maintain the results by:
- Daily Moisturizing: Apply cream every night after your shower.
- Quick Dry Skin Pass: Use a pumice stone lightly in the shower 1-2 times a week.
- Keeping Nails Tidy: File any rough edges as they appear.
- Choosing Foot-Friendly Footwear: Give your feet breathable space whenever possible.
In conclusion, a home pedicure is an accessible, rewarding practice that puts your well-being literally in your own hands. It’s a simple yet profound way to honor the foundation that carries you through each day. So, draw that bath, play your favorite tunes, and give your feet the nurturing they deserve. Your journey to happier, healthier feet begins at home.